CSA = Community Supported Agriculture. (Not “Can’t Stand Alison”, thankyouverymuch.)
If this acronym is new to you, in short – a CSA is an opportunity for you, the consumer, to get your produce direct from a local farmer. Find a farm that offers CSA memberships and you can buy a share of their crops for what will hopefully be a bounty of locally grown fruit and/or vegetables from late spring until mid fall – or whatever the growing season is where you live.
We joined a CSA last year for the first time. As a vegetable lover, the word “kismet” comes to mind. Local, organic food, supporting local business, eating in season? Why these are a few of my favorite of things! We picked up our share of vegetables weekly and carted them home to be chopped and devoured week after week from May until October and will do the same again this year.
If you want to know more about CSA’s, this is a good place to start. That blog post was my kick in the pants to get us all signed up for the coming season, and I’m here today to be your kick in the pants. (You’re welcome!) It’s true though – the time to start thinking about joining a CSA is now. CSA shares do sell out, especially at farms with a good rep, so don’t wait too long to reserve your spot or start shopping around for a CSA if you’re interested .
I was so pleased with our CSA last summer that we joined a winter CSA this year too. Winter pickups are monthly instead of weekly, and the fruits and vegetables were frozen right after harvest – so it’s a bit more like hitting up the freezer section for veggies instead of the produce section. But hey! Still local, still organic. Time to put your big girl gloves on and load’em up.
Blueberries, raspberries, tomatoes, broccoli, squash, edamame and green beans have been among those in our Winter CSA share… we also sometimes get a few root crops – like fresh (root cellar stored) carrots, beets, turnips or potatoes. All locally grown and organic. All totally getting eaten and feeling really groovy about it at the same time.
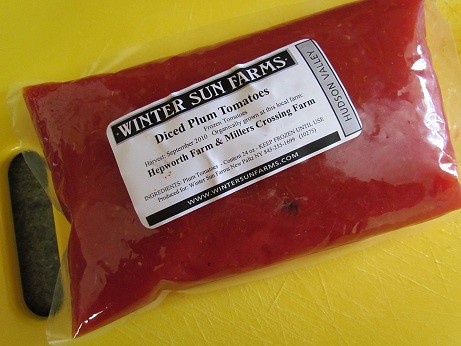
What do CSA’s and a recipe for Spicy Red Lentil Chili have in common? Well, I recently thawed a bag of tomatoes from said winter CSA and used said tomatoes in said Spicy Red Lentil Chili – so that’s what.
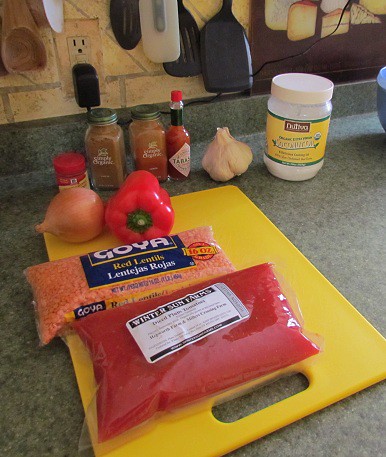
Spicy Red Lentil Chili
Ingredients:
2 – 3 Tbsp oil (I used coconut)
28 oz tomatoes (canned or frozen!)
1 red pepper, chopped
1 medium onion, chopped
2 cloves of garlic, chopped or minced
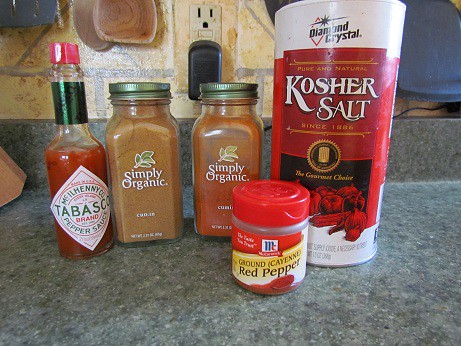
2 Tbsp Tabasco
1 Tbsp Cumin
1 Tbsp Chili Powder
1 tsp Cayenne Pepper
Salt
(all spices are estimates and to taste, I really don’t measure!)
1 lb Red Lentils, rinsed
16 oz water
This makes a boat load of chili, so you may want to halve this recipe if lentils don’t disappear as quickly at your house as they do at mine. And leave out the cayenne pepper if you want it to be “Red Lentil Chili” instead of “Spicy Red Lentil Chili”.
Warm oil in large pan, add your chopped peppers, onions and garlic for sauteing.
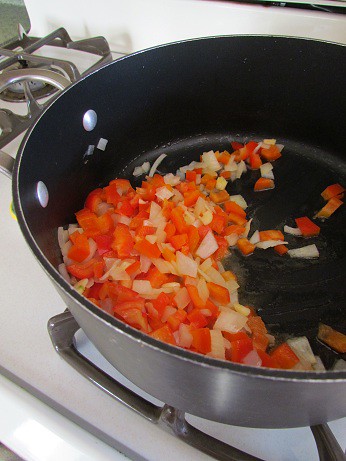
While your vegetables softening up, get your lentils in the shower for a good rinse.

When your peppers and onions are soft, add tomatoes and bring everything to a boil.
Upon boiling, immediately reduce to a simmer and it’s time (not thyme) to get your spices in the pot.
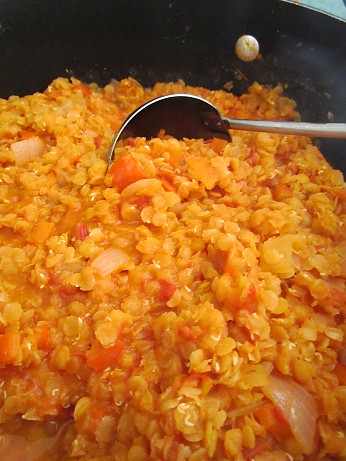
Add lentils and about 8 oz of water, more if it looks like you need it. Cook on medium low heat for about 20 minutes, stirring occasionally as the lentils will start to absorb much of the liquid in your pan during cooking. You’ll want to keep an eye on them for when it’s time to add the other 8 oz of water. Continue cooking (that is, probably another 15 – 20 minutes) until your lentils start to look like this:
You now have the option to either a) ladle half of the contents of your pot into the food processor to puree to add a fun and exciting new texture to your chili, b) use your immersion blender to save yourself from getting your food processor out and dirty c) feel bad you don’t have an immersion blender and hang your head as get your food processor out or d) add more water and continue letting your lentils cook until they practically dissolve, saving yourself from having to wash one more thing.
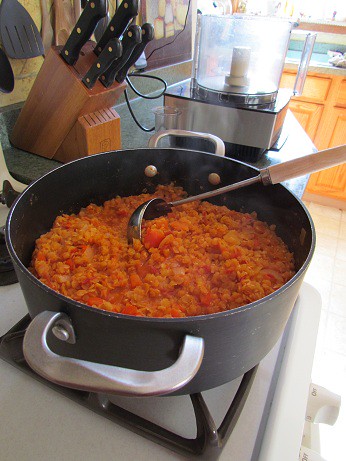
I went with option b) today: washing my food processor.
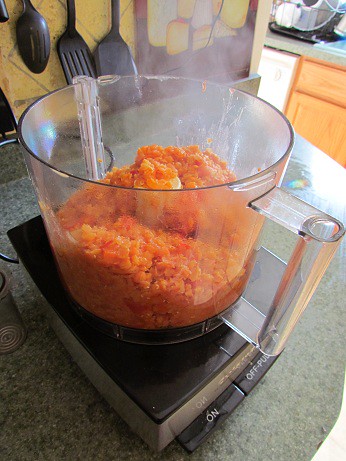
But it was totally worth it.
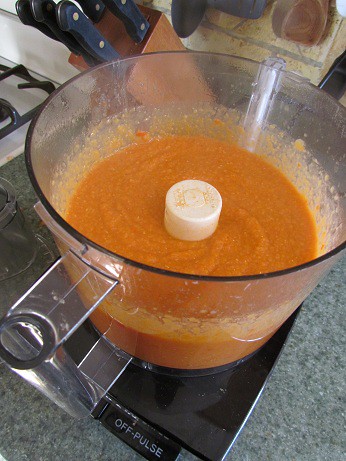
Add your lentil puree back into the pot with your reserved, non-pureed half and allow chili to cook a bit longer, maybe another 10 minutes, stirring occasionally. Use that same ladle (to avoid even more washing) to fill your bowl and then use the same knife you used to chop peppers and onions with to slice open an avocado and dice it on top.
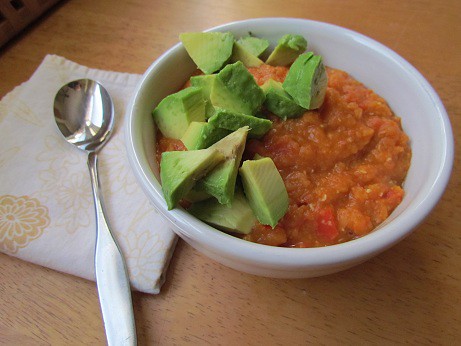
SRLC =Spicy Red Lentil Chili. (Not “Should Really Lick (bowl) Clean”, even though you will.)


Okay… you have freaky timing. I just bought a bag of dry lentils (for the first time ever!) to make lentil tacos and joined a CSA yesterday. Freaky man.
freaky indeed! (and lentil tacos are a favorite around here!)
Oooh your lentil chili looks delicious! This might just move onto my already planned out list this week. Hmmm…what’s gonna get the bump? And thanks for the kick in the pants about the CSA. It’s been on my list of things to look into and I haven’t done it yet. I needed a reminder.
I hope you check it out Maryea!
CSA for us this year even though we’ve begun raised-bed gardening. Veggies rule!
Your pics are great
we found the garden to be a nice complement to the CSA, I practically skipped on by the produce aisle all last summer. glad you’re going to join one!
Yummmm! I’m definitely considering joining a CSA this summer, especially since my boyfriend and I will be cohabitating We also want to plant a garden and I cannot wait to have fresh produce outside the door!
i have ALWAYS wanted to join a CSA. as a SWF (single white female – cue chely wright song now), i need to find someone else to share in the goods so i do not waste food. it’s my biggest pet peeve.
Hi Alison, Is there a difference between red lentils and green ones? I mixed the two together in a soup and the green ones didn’t seem cooked enough while the red ones did. I’m kind of a lentil newbie. Thanks!
Hi Ivanna,
Yes, red lentils and green lentils are different – just as you’ve observed, the green ones take longer to cook! Probably best to stick with one or the other in a given recipe. This short article on lentils might be helpful… red are my favorite, in part because they cook so quickly!